10 best process images
22nd March
My first Fusion 360 model, where I began to familiarise myself with the software and its capabilities. This model would become the basis of some of my future physical and photoshopped models, and the skills I developed would help with with future 3D model making in Fusion 360.
22nd March
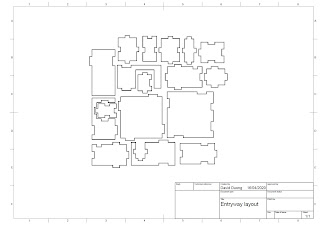
The Fusion 360 model with all components disassembled and converted into a drawing template.. I learned how to convert it into an Illustrator file ready for laser cutting.
24 March
My second handmade model of my study space, but in cardboard rather than paper. I experimented with different materials and found that cardboard was much thicker and sturdier than paper, but also more difficult to manipulate. This would inform my future decisions to make models in paper, as I enjoyed the flexibility of modelling with paper.
4 April
Paper model of the Fusion 360 prisms, at 1:1 scale. I started to become more familiar and skilled with the folding tabs style of modelling, which would aid me in all the paper models to come.
5 April
My first model which explored the effect of a new source of natural light in my room. I continued to develop my skills in the folding tabs technique, and the result is this model which was more refined than the previous Fusion 360 paper model. I also began to experiment with lighting in the context of photo taking.
10 April
My initials 3D model in Fusion 360. Here I experimented with different materials and textures in the software's rendering mode, as I continued to familiarise myself with Fusion 360's many capabilities.
10 April
My early attempt at photoshopping textures onto my paper model, and placing it in a virtual environment. Quite rough and unrefined, as expected. I didn't have the hang of perspective warping and realistic shadow making.
11 April
A later photoshopping project, in which my handling of perspective and shadowing, among other things, has improved greatly since the earlier attempts. Both aspects are communicated much more convincingly and realistically, although with room for more improvement of course.
14 April
Sketches and plans for my final model in the natural lighting series. Measurements of the room on the left. On the right, I was playing around with different options for skylights, and calculating their different sizes.
14 April
My final paper model. I took a new approach with this one, in which I opened up a wall and left the ceiling in place. This allowed me to finally explore lighting from inside the room. At this stage, I had become very comfortable and skilled in paper modelling using folding tabs.


